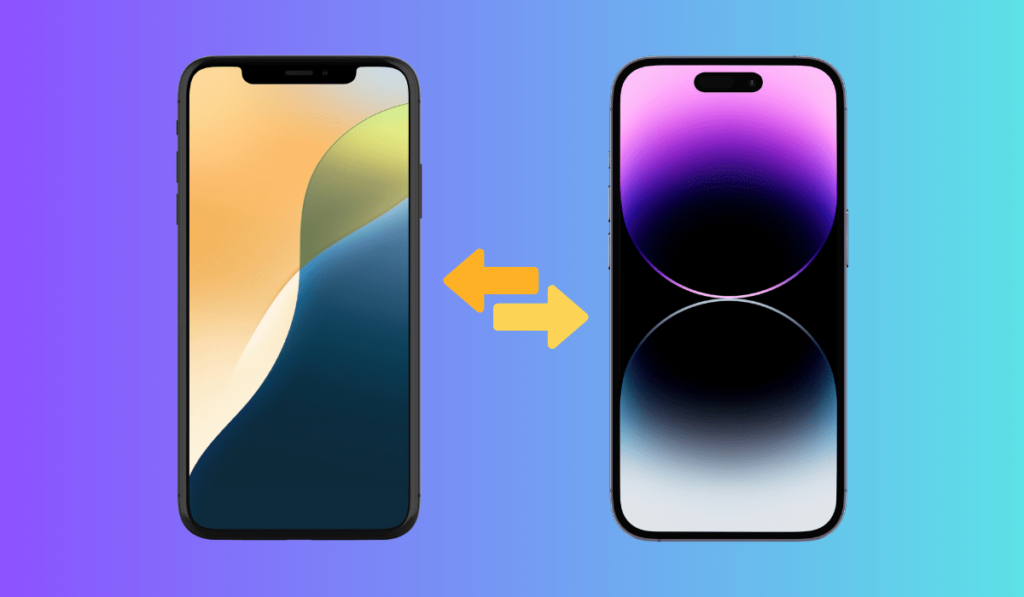
Congratulations! If you have reached this blog, you must have upgraded your iPhone. Isn’t it?
Well, now that you have a brand new Apple iPhone, it is important to understand how to transfer iPhone to iPhone and shift the entire data from your existing device to the new one. It could be anything and almost everything. Right from the apps, and existing settings of your device to the respective files and documents preserved in it. It is essential to transfer them all or create a backup before you let them go.
Read the blog till the end to learn how to Transfer iPhone to iPhone.
In this article
How To Transfer IPhone to Iphone
Here we go with 3 simple methods to transfer your data from your existing Apple iPhone to another. Don’t worry! You need not invite any third-party applications in the process. Apple itself brings you to the rescue.
I: Transfer Data in Apple iPhone With Quick Start
Before you start trying the steps while reading this blog itself, make sure you have both devices around – the old iPhone as well as the newly upgraded device.
- Bring both the Apple iPhones closer. Check if the old device’s Bluetooth is on.
- Switch on the New Apple iPhone. Now, press “Continue” when a prompt appears on the old iPhone’s screen.
- Next, you will see an animation on your screen of the new device. To connect both devices, scan the animation on the new iPhone with your old device using its Camera.
- After scanning, your new device will ask for a passcode. Enter the password, or code along with your Apple ID.
- If you want, you can also set up the Face ID on your device.
- Once done with the passcode and Apple ID, Select “Transfer From iPhone”. Wait for the transfer to begin and finish successfully. In the meantime, you can also begin to transfer data from iCloud.
Note : While the entire process is being executed, be sure that both iPhones are placed closer to each other.
II: Use iCloud To Update To A New iPhone
Another method to learn how to Transfer iPhone to iPhone is via iCloud. But first, keep the entire backup of your old device done before proceeding further.
Note: Having the backup done before executing this step is necessary. This is because this method asks you to reset your iPhone so that you can enter the setup phase.
- Now that your phone is complete with the backup of your old device and the entire data has shifted to iCloud, turn on the new Apple iPhone.
- Connect your device to the Wi-Fi. Go to Apps & Data > Restore from iCloud Backup” > Sign in to iCloud.
- Choose the backup that you want to restore to your new iPhone and wait for it to complete.
- That’s a wrap! You are done learning the second easiest method behind “how to transfer iPhone to iPhone” effortlessly.
III: Transfer iPhone to iPhone Using iTunes
It is finally easy to transfer your entire data from one iPhone to the other using iTunes and your PC. Just be sure that you have the latest version of iTunes for the same.
Please note that “having a backup is essential” before you execute this method. Also, as we mentioned in Method 2, you might need to reset your device.
- Once the backup is done in your iTunes, turn on your new Apple iPhone.
- Go to Apps & Data > Restore from Mac or PC. Next, plug your device into your Mac or computer with the help of a USB Cable.
- Open iTunes on your Mac or computer. Locate the “new device” on the top-left of the screen.
- Choose Restore Backup and select the right backup that you want to restore.
- Wait till the process finishes and the backup is done.
Effortlessly Transfer iPhone to iPhone In No Time
Transferring data from one Apple iPhone to another is straightforward with no inclusion of a third-party application. With Apple’s built-in features like Quick Start, iCloud, or iTunes, each method is easy to use and requires no extraneous effort. Follow these unique methods and quickly get your new device up and running with all your important information preserved. Now that you have learned how to transfer iPhone to iPhone, enjoy your new device and bid farewell to the old iPhone.
Read more:
How to Easily Accept a Shared Album Invite on Your iPhone
How to Stop Unwanted Texts on an iPhone
How to Easily Turn Do Not Disturb On or Off on Your iPhone or iPad
