Mastering photo editing on your iPhone can elevate your social media game and help you create visually stunning content. With iOS 16, Apple introduces the Photo Cutout feature, a powerful tool that allows you to isolate subjects from their backgrounds effortlessly. Whether you’re looking to create professional-looking images or just want to experiment with your photography, learning how to use Photo Cutout can come in handy.
In this article
In this guide, you’ll learn step-by-step instructions on how to effectively use the Photo Cutout feature on your iPhone. By the end, you’ll be equipped with the skills to transform your photos with ease.
How to Use Photo Cutout on iPhone
To begin using the Photo Cutout feature on your iPhone (iOS 16), follow these simple steps:
1. Open the Photos App:
Launch the Photos app on your iPhone and select the image you want to modify. Ensure the photo is clear and in a supported format (JPEG, PNG, GIF, etc.).
2. Tap and Hold the Object:
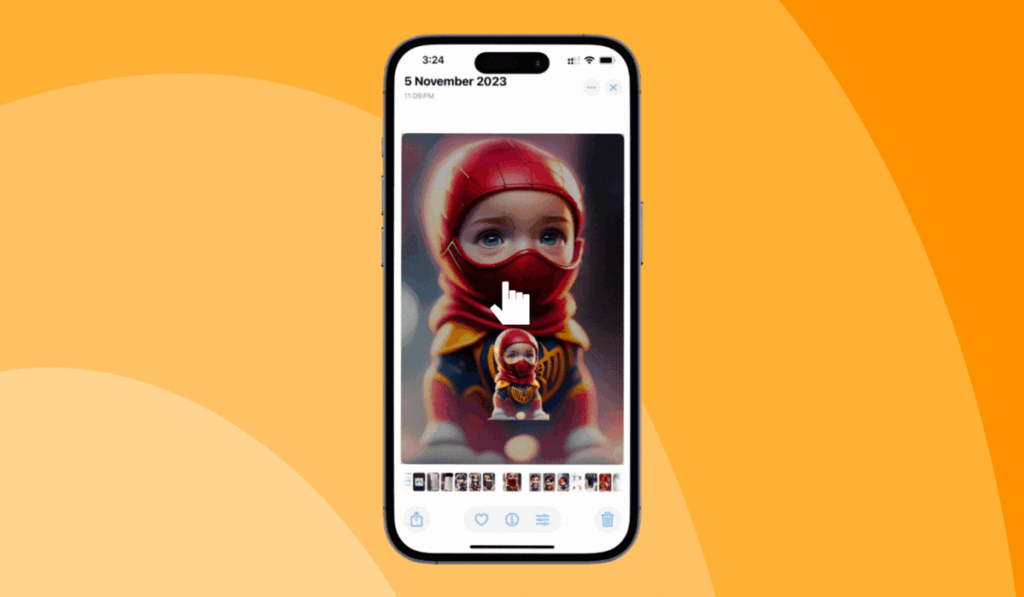
Identify the object or person you wish to cut out. Tap and hold your finger on the object until a glowing outline appears around it. This indicates that the Photo Cutout feature has recognized the object.
Tip: If the Photo Cutout feature isn’t working, ensure that Visual Lookup is enabled and your iPhone’s software is up to date. Restarting your device can also resolve minor glitches.
3. Drag and Drop:
Once the outline appears, you can drag the cutout to another app using multitasking. For example, with your finger still on the object, swipe up from the bottom of the screen to reveal the Dock, then drag the cutout into an app like Messages or Notes.
4. Copy and Share:
Alternatively, after the glowing outline appears, you can lift your finger to bring up a context menu. Tap on “Copy” to copy the cutout. You can then paste it into any app that supports images, such as Mail or iMessage.
5. Create iMessage Stickers:
To use the cutout as a sticker in iMessage, tap and hold the cutout, drag it into the messaging thread, and drop it to send it as a sticker.
6. Edit or Share:
You can also share the cutout directly to social media or other apps by selecting the “Share” option from the context menu. This allows you to post the image or use it in various editing apps.
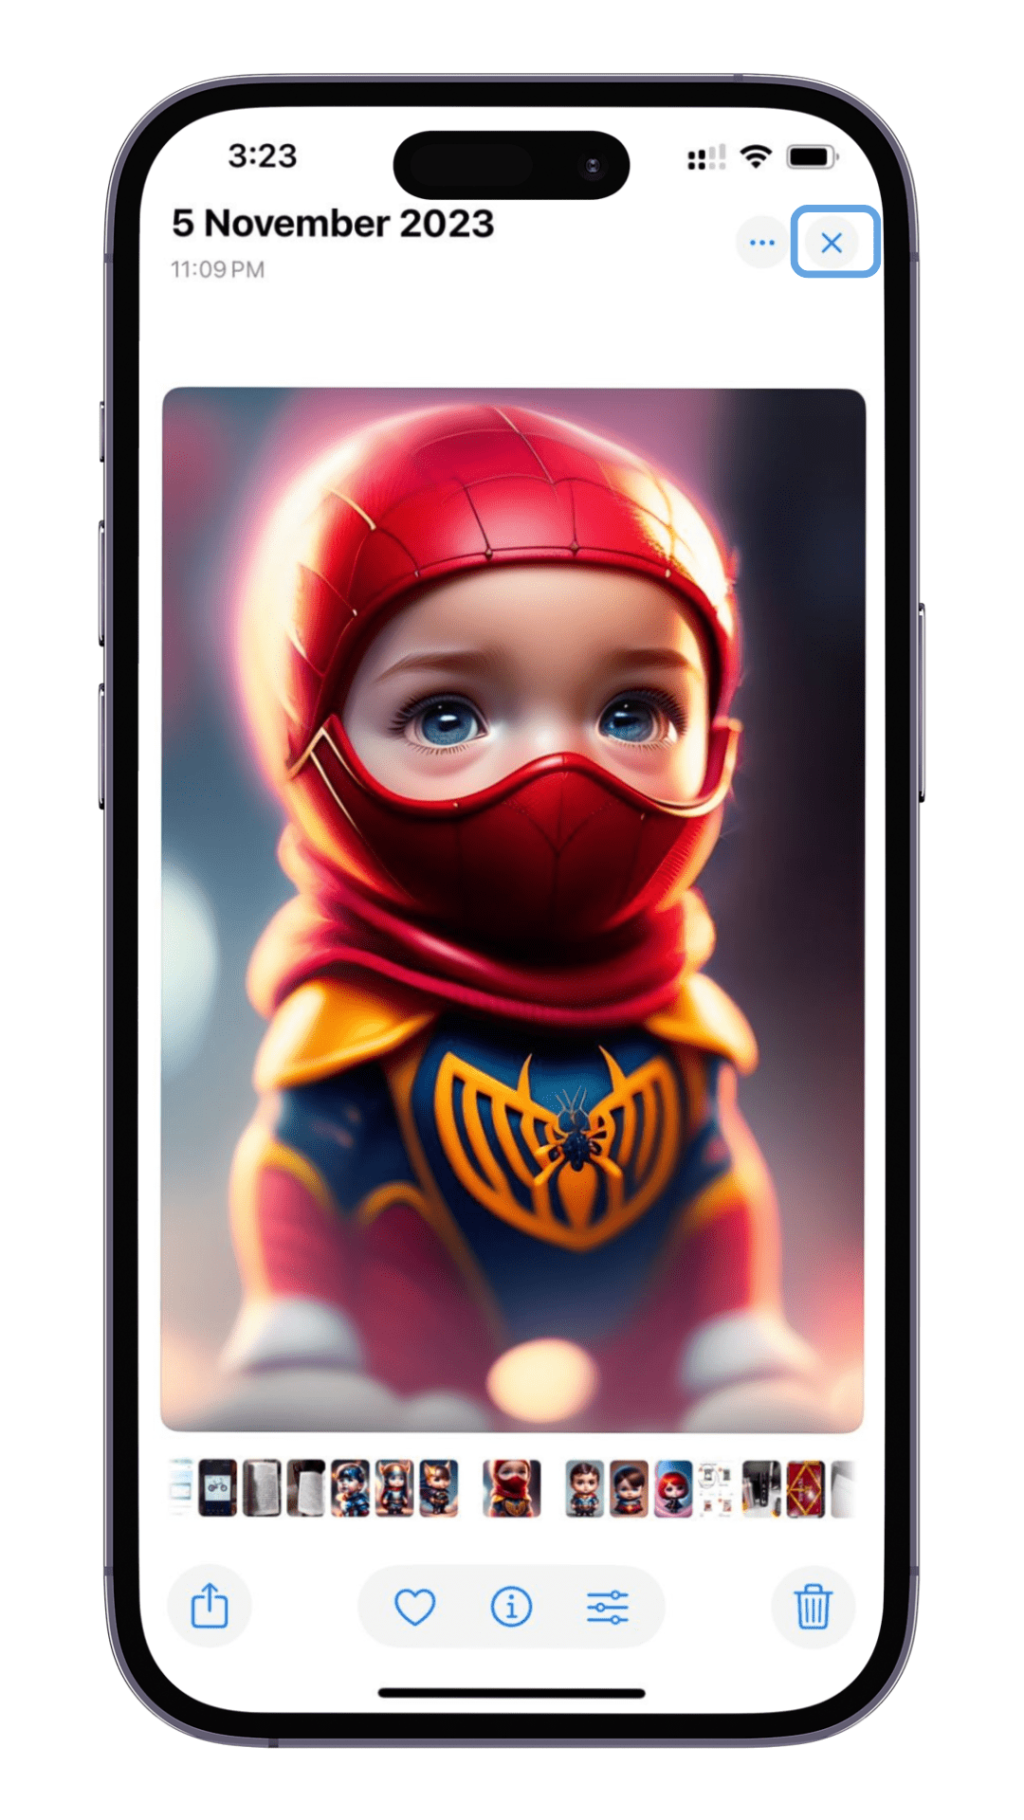
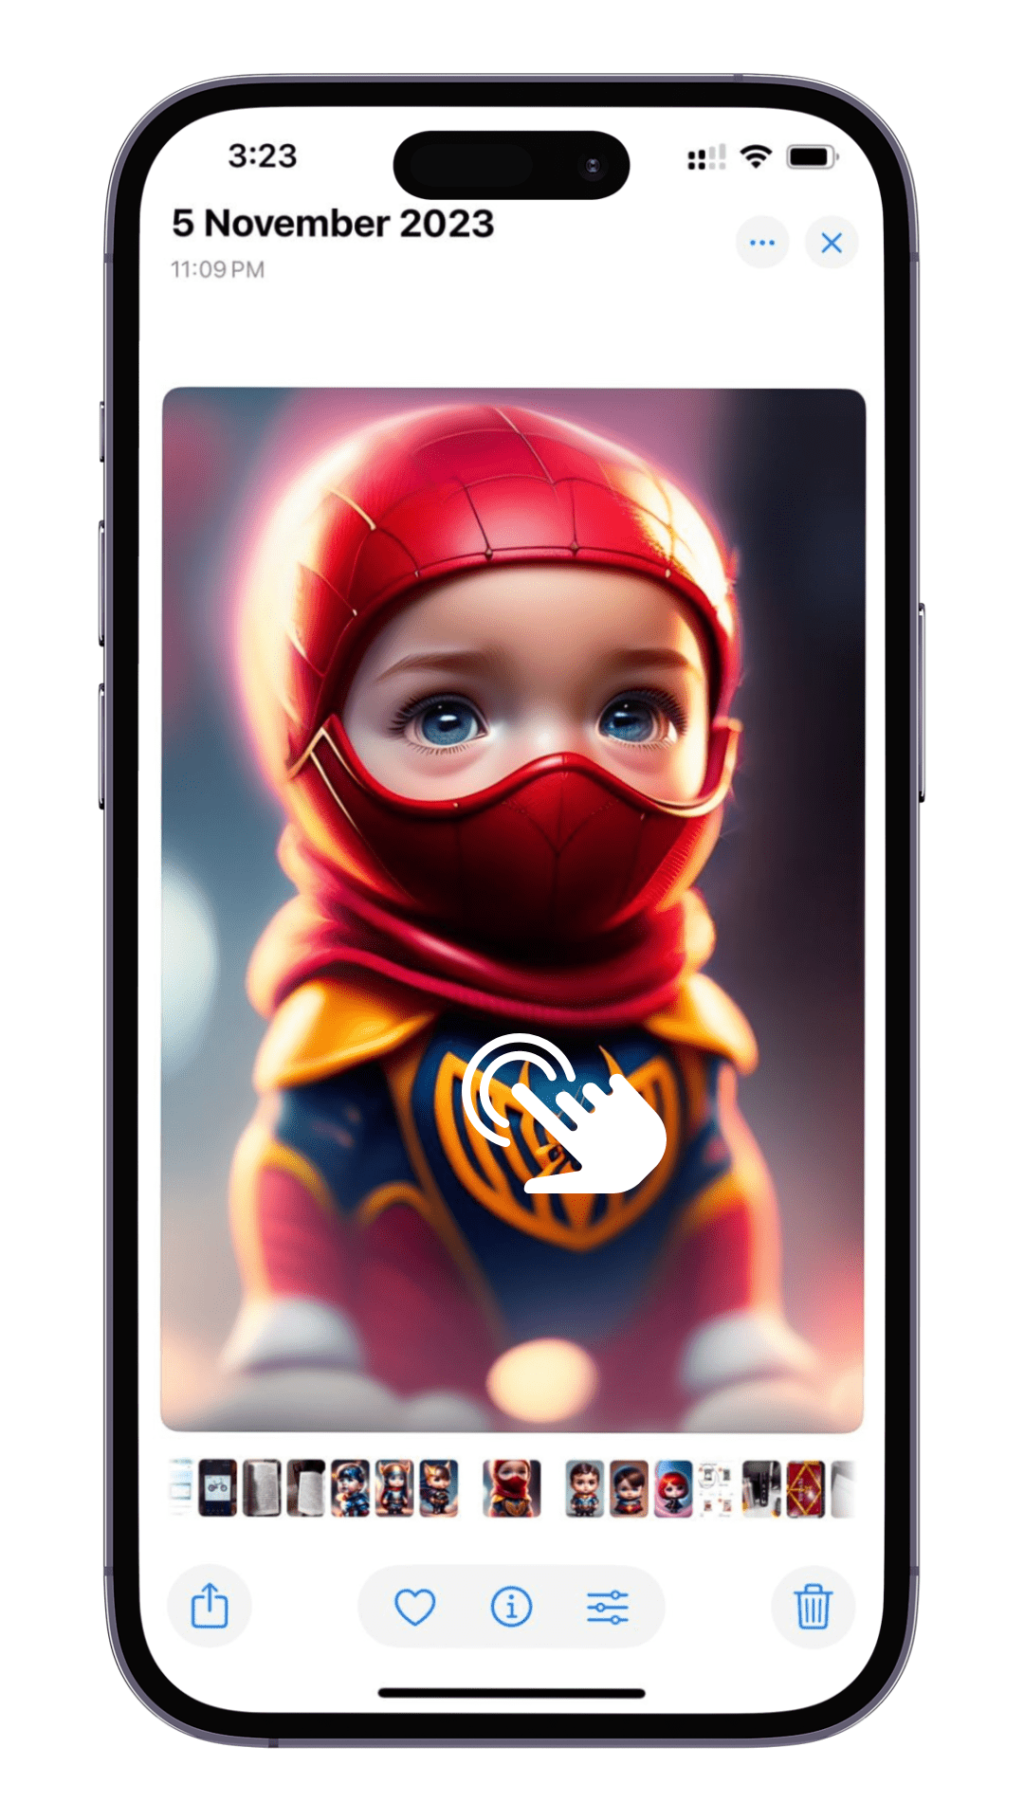
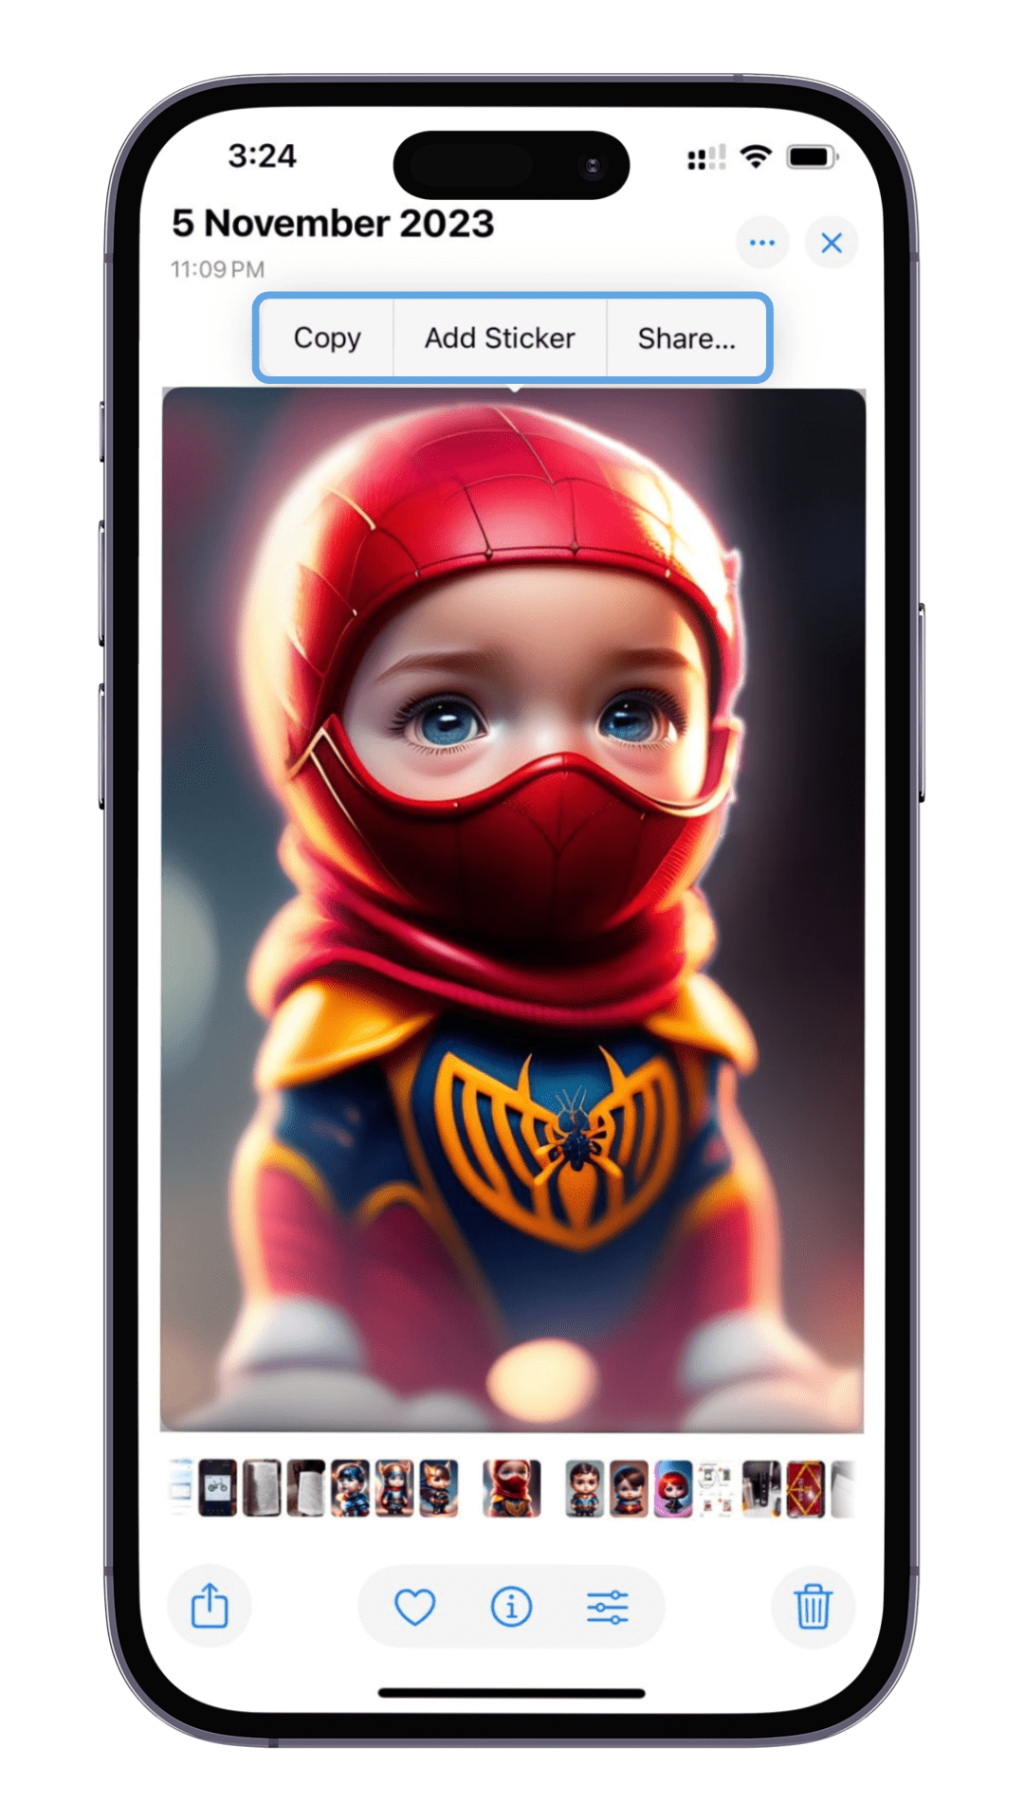
By following these steps, you can effectively utilize the Photo Cutout feature on your iPhone to enhance your photos and create fun new images.
Enabling Visual Lookup on Your iPhone
First, ensure that your iPhone is running iOS 16 or later. The Photo Cutout feature relies on Visual Lookup, available only on iPhones with the A12 Bionic chip or newer. This includes models like the iPhone XS and XR, released in 2018, and later.
Follow these steps to enable Visual Lookup:
- Open the Settings app on your iPhone.
- Scroll down and tap on “Photos.”
- Toggle on “Show Content in Visual Lookup.” This setting allows your device to identify and highlight objects within photos.
Once Visual Lookup is enabled, you can start using the Photo Cutout feature to lift and share subjects from your images with ease. Ensure your iPhone is updated, and you’re ready to start exploring the limitless possibilities of Visual Lookup.
Tip: For best results, use high-quality images with clear subjects. Blurry or low-resolution photos may not work as effectively with the Photo Cutout feature.
Common Mistakes to Avoid
When using the Photo Cutout feature on iOS 16, it’s important to be mindful of several common mistakes that can hinder your experience:
1. Ignoring Device Compatibility: Ensure that your iPhone model supports iOS 16 and the Photo Cutout feature. Older models might not be compatible, leading to functionality issues.
2. Using Unsupported File Formats: Photo Cutout works best with standard image formats like JPEG and PNG. Avoid using files in less common formats, as they might not be properly processed.
3. Blurry or Low-Quality Images: For optimal results, use clear and high-resolution images. Blurry or low-quality photos may prevent the feature from accurately identifying and separating the subject.
4. Neglecting iOS Updates: Keep your device updated with the latest iOS version. Software updates often contain important bug fixes and improvements that enhance the performance of features like photo Cutout.
5. Overlooking Visual Lookup Settings: Make sure Visual Lookup is enabled on your device. This setting is crucial for the Photo Cutout feature to work correctly.
By avoiding these common mistakes, you can ensure a smoother and more efficient experience when using Photo Cutout on your iPhone.
FAQs
Which iPhones support the Photo Cutout feature?
The Photo Cutout feature is available on iPhones with the A12 Bionic chip or newer. This includes iPhone XR, XS, and all subsequent models running iOS 16 or later.
How do I use the Photo Cutout feature on my iPhone?
To use the Photo Cutout feature, open the Photos app and select an image. Press and hold on the subject you wish to cut out until you see a glowing outline. You can then drag the cutout to another app or context, such as messages or a social media post.
What file formats are supported for Photo Cutout?
Photo Cutout supports common image formats such as JPEG, PNG, and GIF. Ensure that your images are in these formats for the feature to work correctly.
What can I do if the Photo Cutout feature isn’t working?
If the feature isn’t working, first check that your device is compatible and updated. Ensure the image quality is high, and that you are not using Live Photos. Additionally, you can try restarting your iPhone or resetting all settings.
Can Photo Cutout be used on videos?
No, Photo Cutout currently works only with still images. It cannot be used to remove subjects from videos.
Are there any software requirements for using Photo Cutout?
Yes, your iPhone must be running on iOS 16 or later to use the Photo Cutout feature. Ensure your device is updated to at least this version.
